


 Tweet
Tweet
The new owner wants a hot water shower installed on this year's 200. Since I'll be skiing behind it this winter, I'm happy to do it! Thought I would take some pictures of my progress. Comments are welcome.
The kit is the HeaterCraft 101
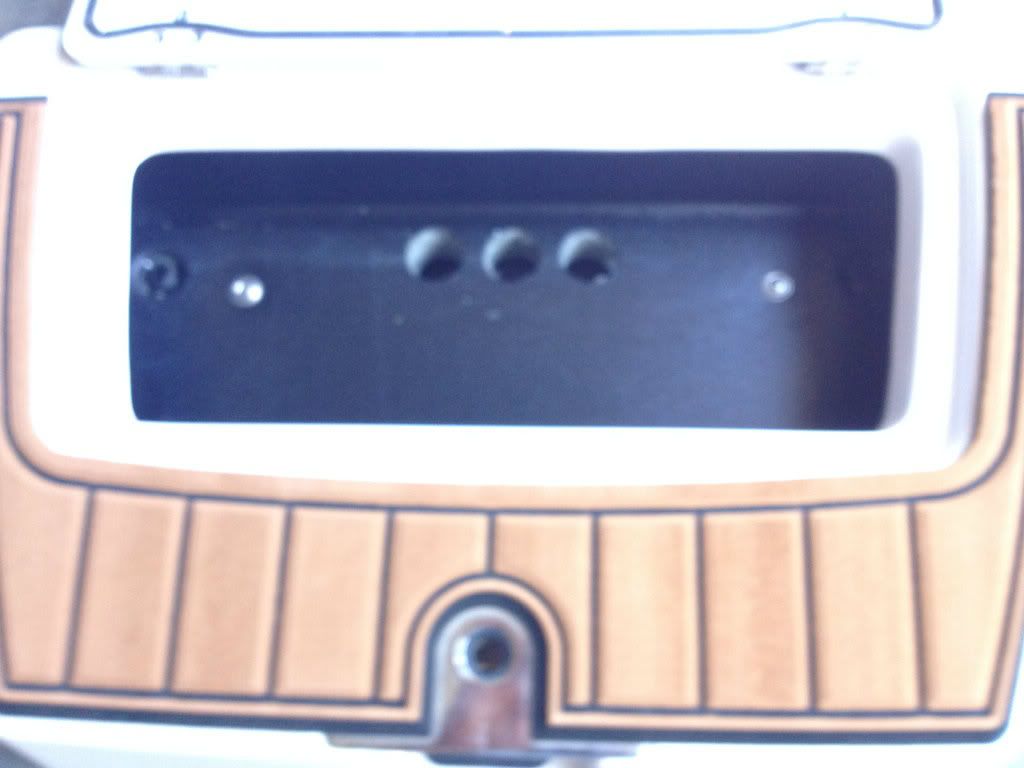
First, I chose a spot for the controls, hose and shower head.

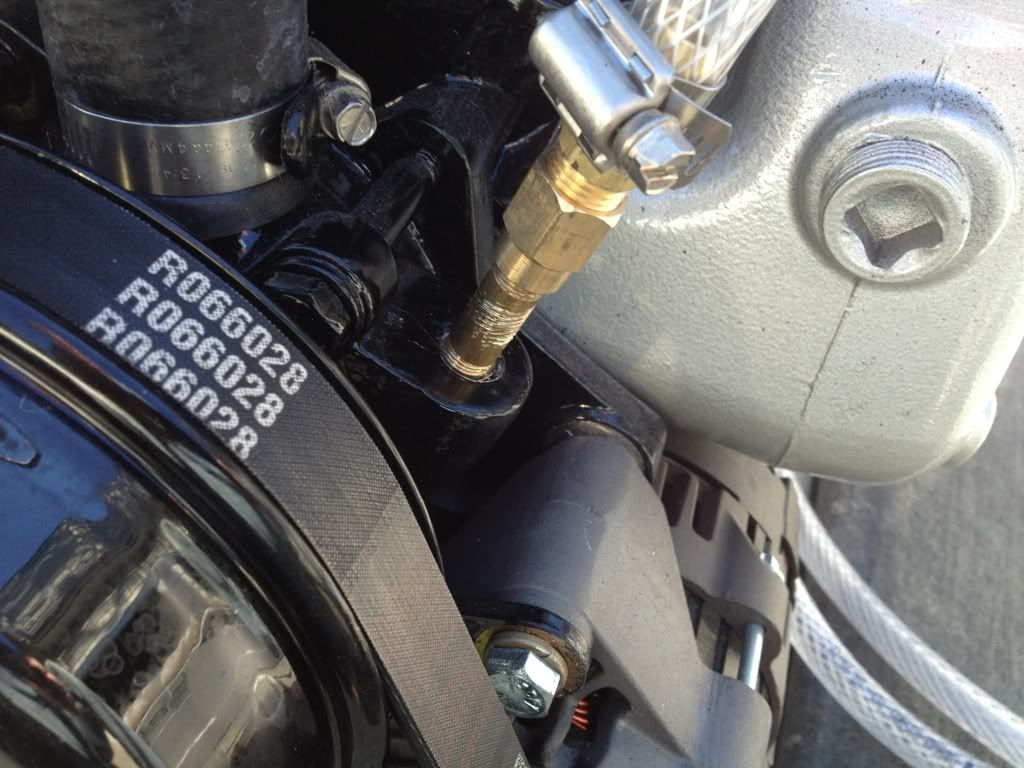
Next, used an existing plug for the cold water right at the water pump.
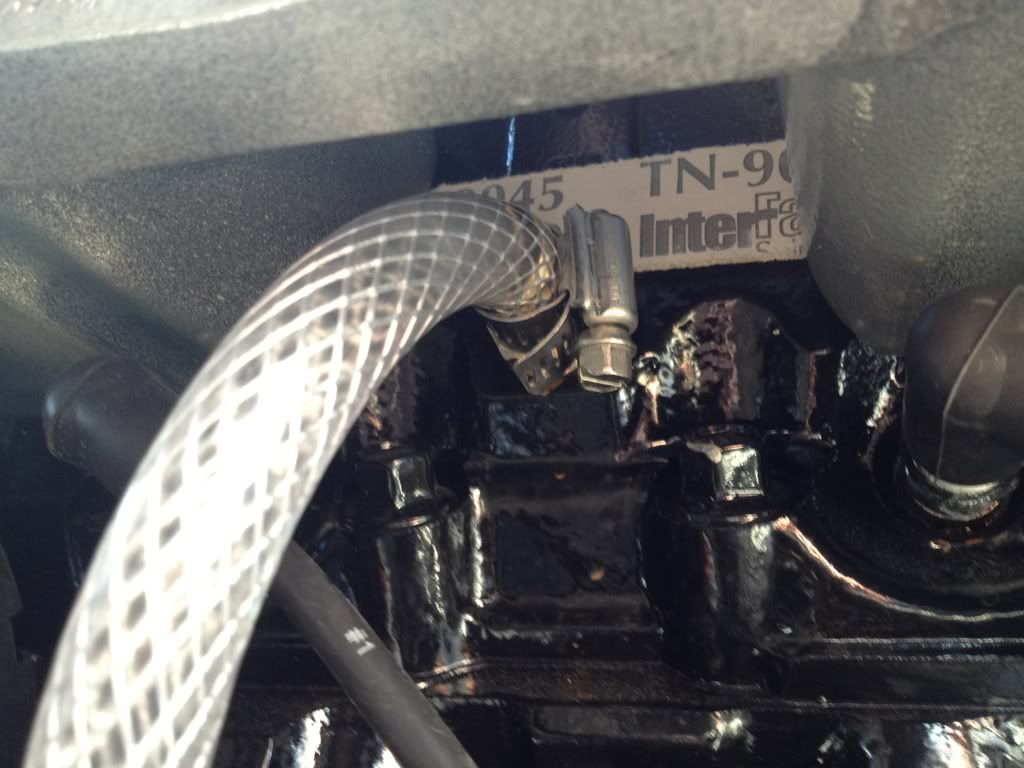
Found a plug on the block for the hot water. Close to the water pump on the passenger side. Behind the cat and next to a spark plug.
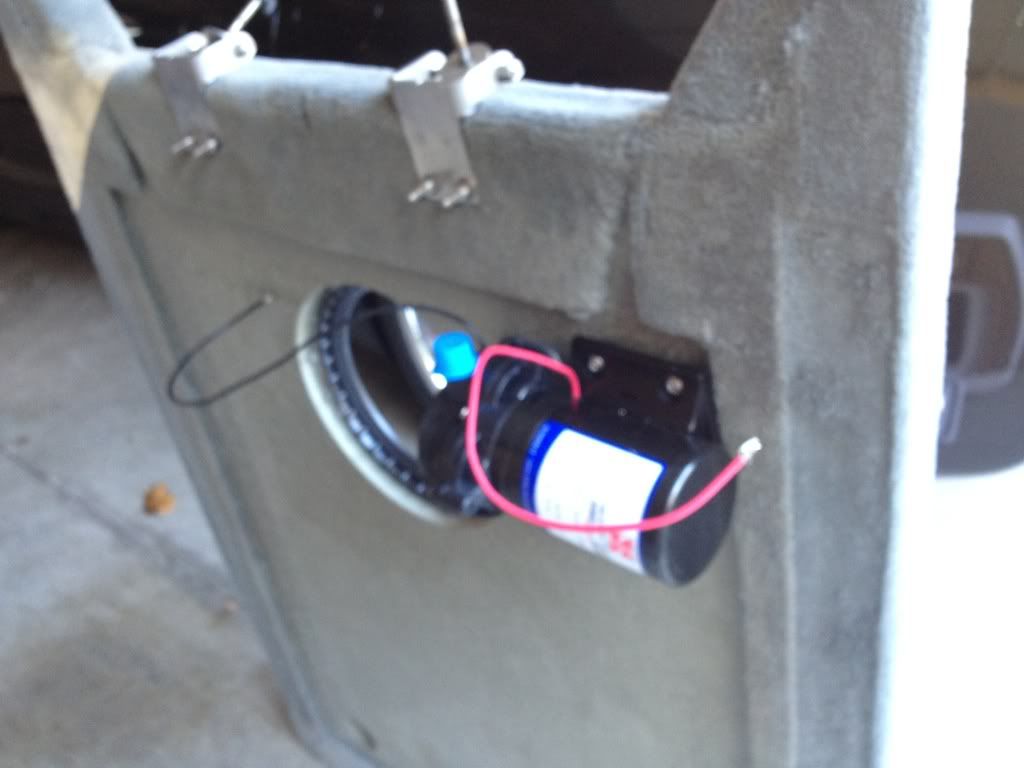
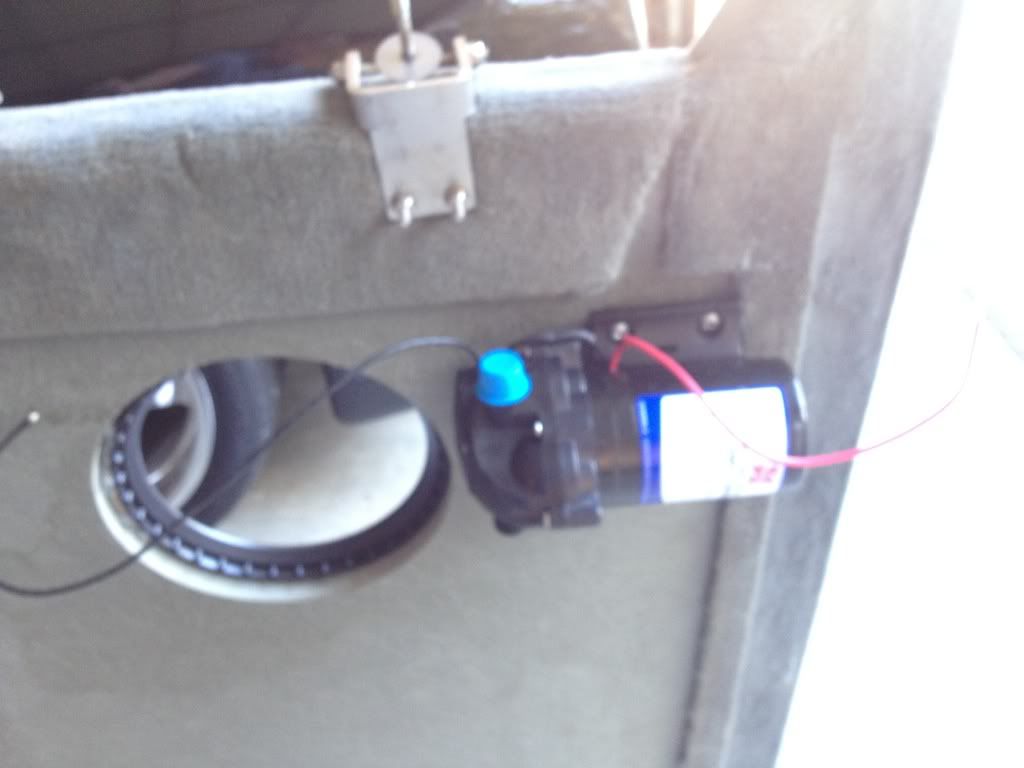
I decided to mount the pump under the board that goes from the motor box to the back of the boat. Just getting the motor box off was a chore. Had to lift each side, remove the lifting rings, lift the other side, remove those lifting rings, then it will come off.
I drilled holes for the faucet.
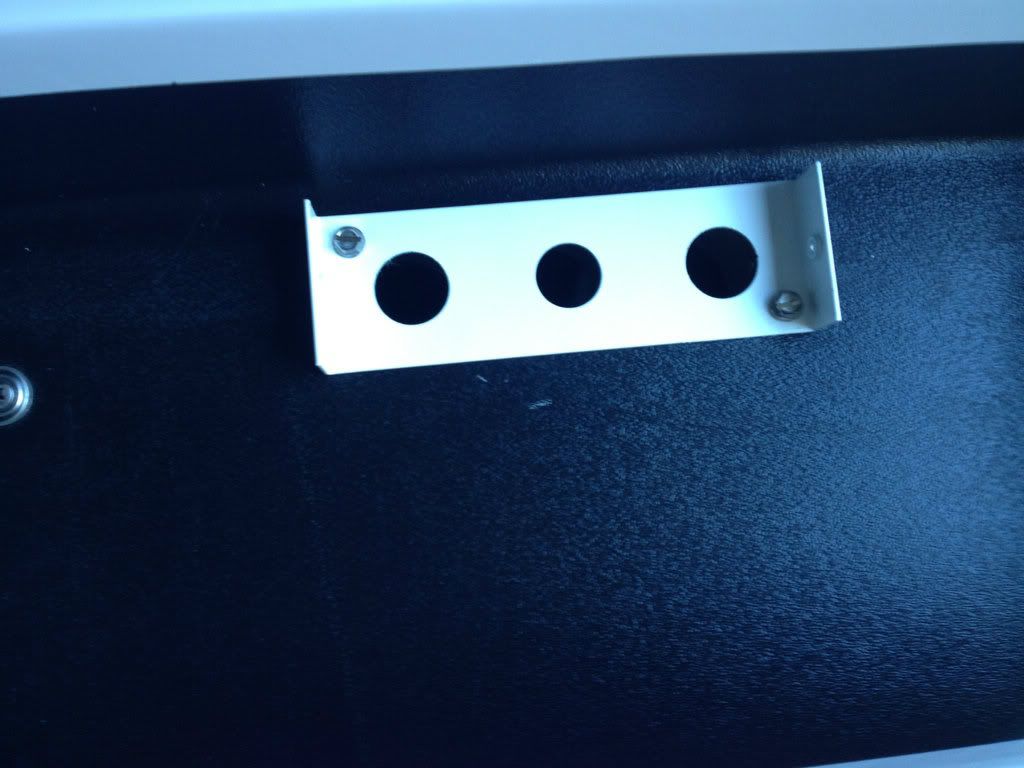
Took apart the faucet. Drilled a couple holes. Screwed that plate to the board.
Screwed the faucet back to the plate.
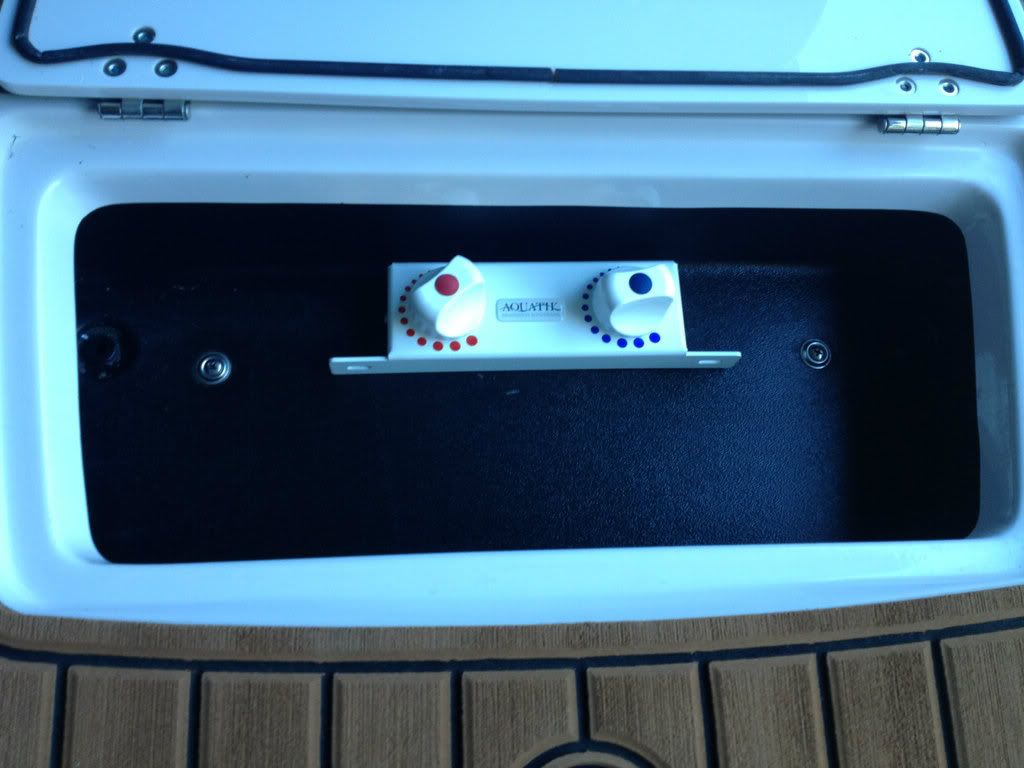
Done for a while. I'll finish later. One of my biggest complaints with this shower is that the temperature fluctuates a ton. So, I've ordered a tempering valve and will be installing it in-line. That should keep the temp within a few degrees. I also plan on mounting the on/off switch on the faucet.
The kit is the HeaterCraft 101
First, I chose a spot for the controls, hose and shower head.
Next, used an existing plug for the cold water right at the water pump.
Found a plug on the block for the hot water. Close to the water pump on the passenger side. Behind the cat and next to a spark plug.
I decided to mount the pump under the board that goes from the motor box to the back of the boat. Just getting the motor box off was a chore. Had to lift each side, remove the lifting rings, lift the other side, remove those lifting rings, then it will come off.
I drilled holes for the faucet.
Took apart the faucet. Drilled a couple holes. Screwed that plate to the board.
Screwed the faucet back to the plate.
Done for a while. I'll finish later. One of my biggest complaints with this shower is that the temperature fluctuates a ton. So, I've ordered a tempering valve and will be installing it in-line. That should keep the temp within a few degrees. I also plan on mounting the on/off switch on the faucet.


Comment