What are your plans for the sub box? I am going to add a second 10" to my boat. I was thinking about bulding a custom box to fit under the starboard gunnel.
X
-
B, have you got a chance to see if the valves open and close yet? I'm guessing this might have to take place at the lake but I know you like to test things right when you finish installing it even if its midnight and everyone is sleeping. Wish I could give you a hand this weekend but looks like I will be getting some hardware installed on myself this weekend. Should be good to ride in a month just as the water starts to warm up.
Comment
-
Gizmo. I am planning on making a box for a 15 L7 that will sit on top of the starboard vdrive tank. I should have a design by maybe tomorrow.
Was able to take the boat out yesterday. The valves worked like a charm. The one ballast sender didn't work so I guess I still have to get a new one of those. It might be just me, but it seemed like it took an extra long time to fill the tanks. next outing, I'll make sure that the hoses aren't being sucked together by the pressure.
Does anyone with a stock system know about how long for each tank it takes to fill and we can measure the difference?
Also, I do know that I am leaking some water. I figured I would at some of the hose clamps. Honestly, I didn't even get a chance to look yesterday. It was getting dark really fast and that was the last thing on my mind. I was too worried about riding and the freezing water.
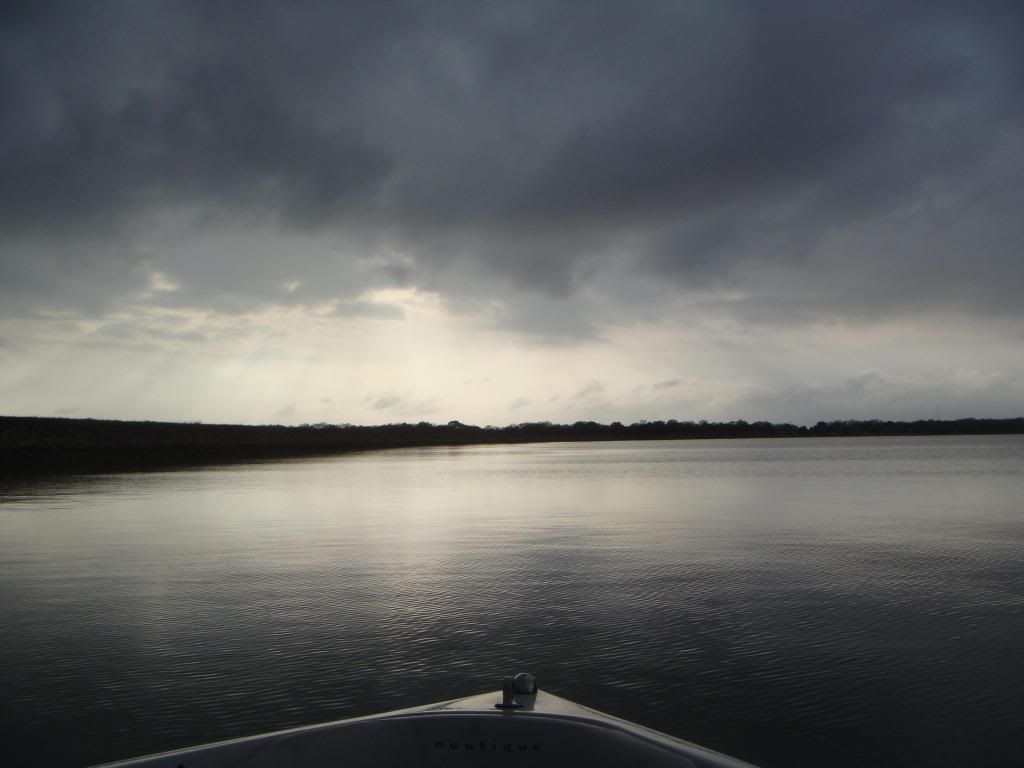
Gotta love when your the only boat at the lake. There was actually another crazy Nautique owner that came out after us in a sweet SAN.
Comment
-
So I know it's been a long time since I posted anything. Ive been too busy working and riding every chance I get a free afternoon. Not all is lost though. Over the past month or so I got a few things done....
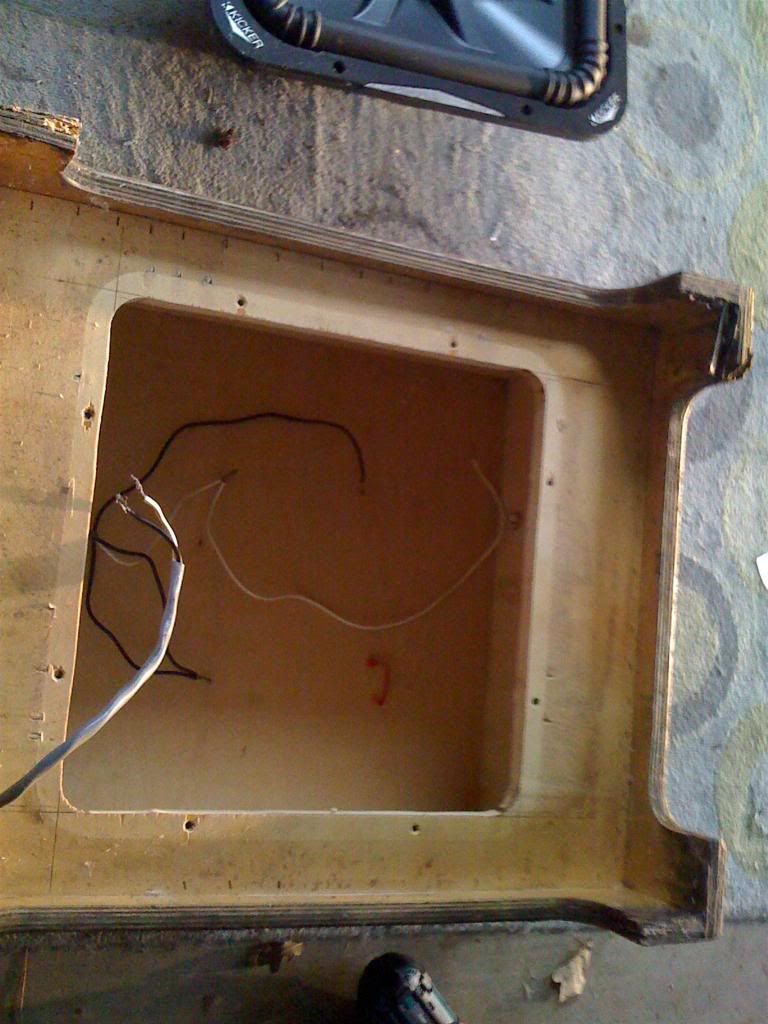
Got tired of no bump, so I threw the sub back in until I get the new box done.
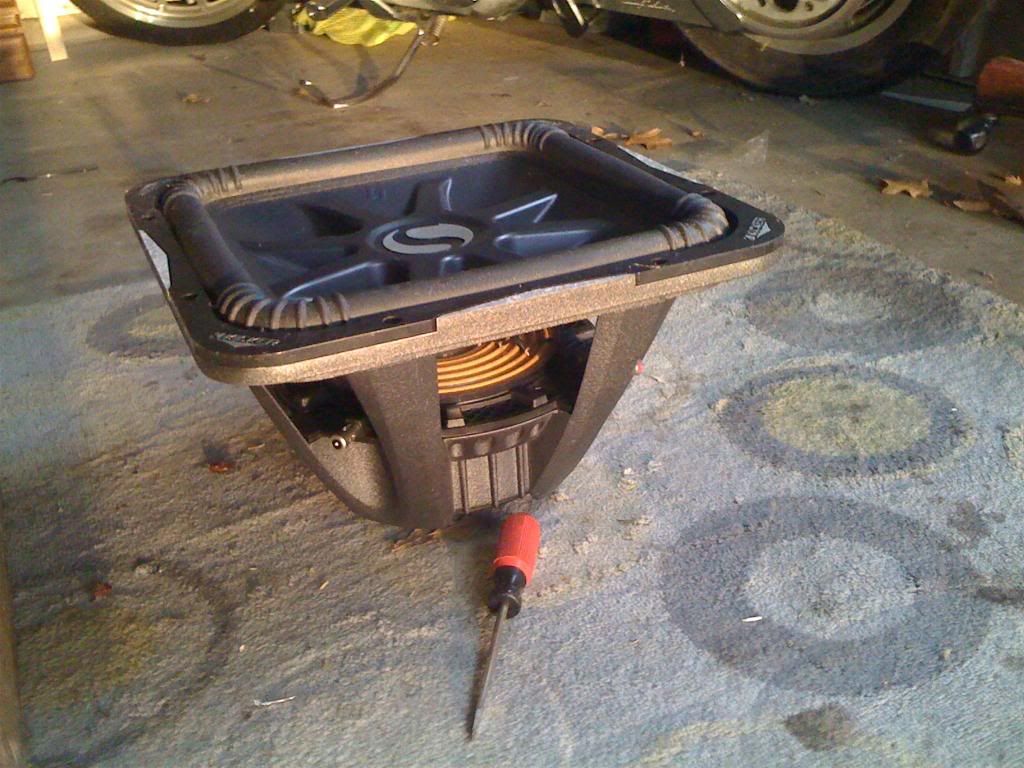
Looks like *** on the outside, perfect on the inside, pounds the beats and jumps off the floor about 3 inches when it hits hard. Kicker 15L7 powered by a Alpine PDX 4.1000
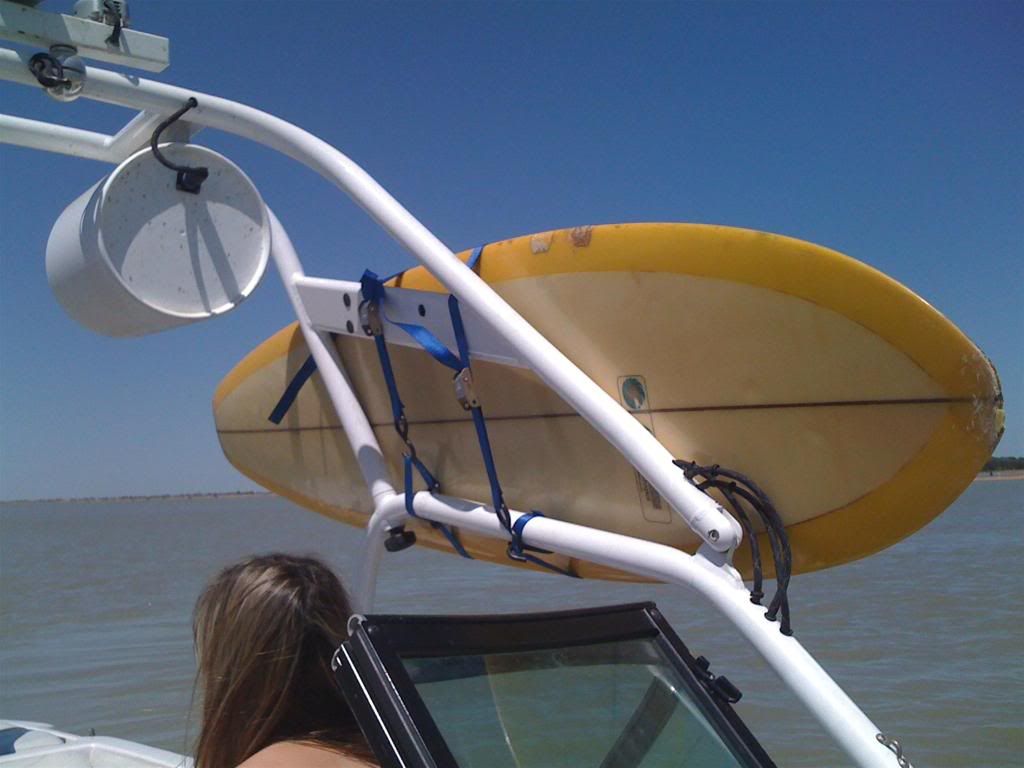
LOL. We took the "big banana" out the other day to try it. Luckily, or unluckily I ripped the board racks off the side of the tower and it fit purrfect.
Now why would I want to work on the boat when there is water like this to shred?
I got one of those cheap mirror mounts from diy wake. It works pretty good except the rod would always unscrew and the mirror would flip around. Fixed it by tapping a screw through the threads.
Center punch. Best $2 eva spent
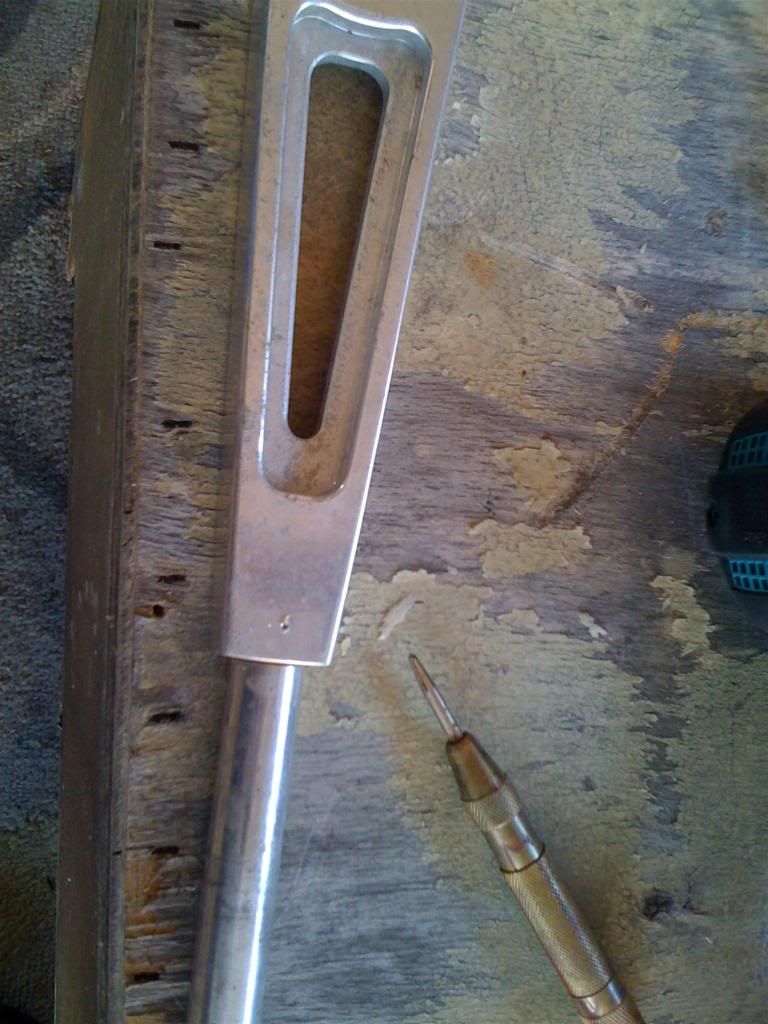
Gotta counter sink it just a lil bit.
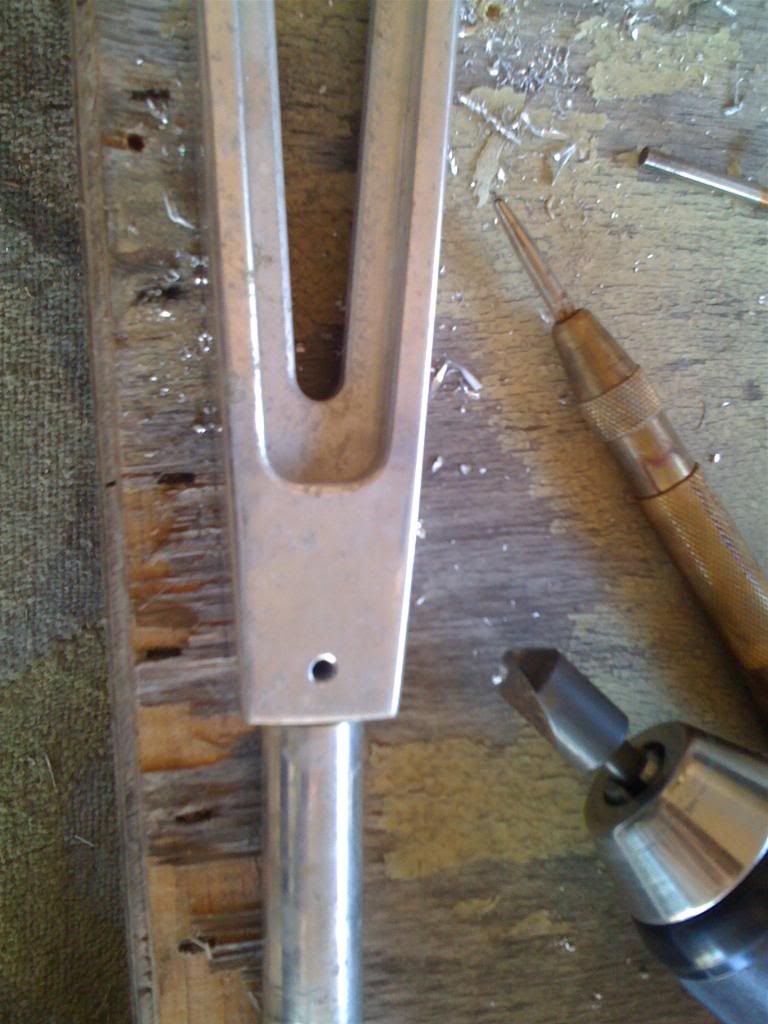
Problem solved!

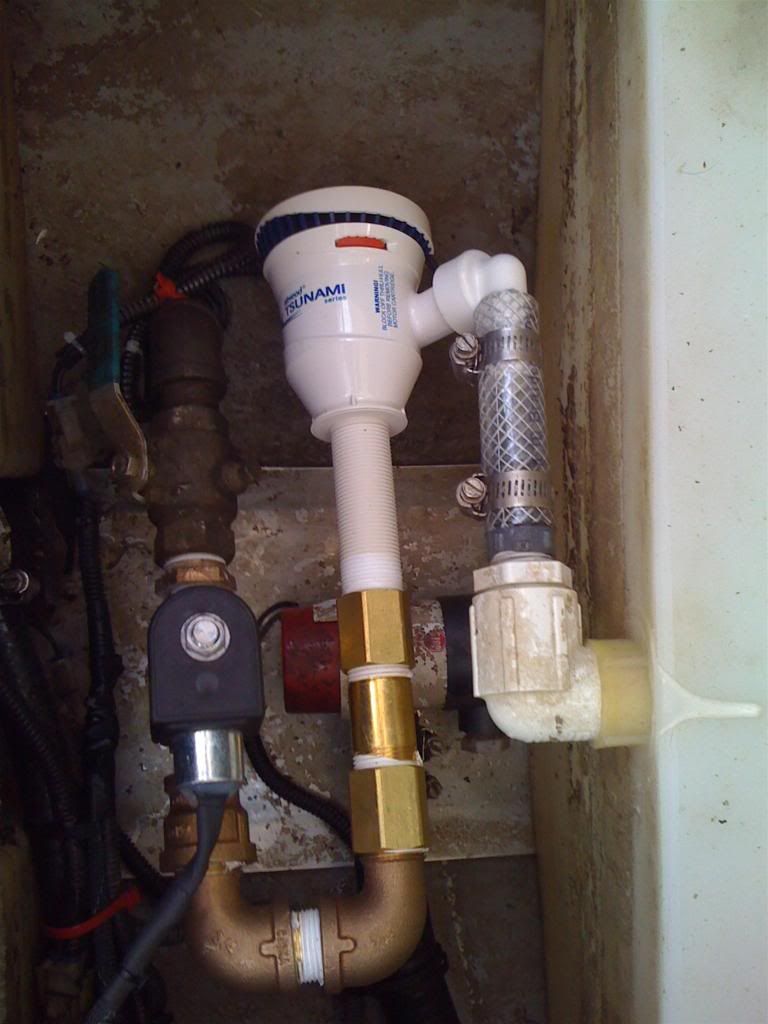
After I finished the valve install. The bow tank seemed to take forreeevver to fill up. So I figured I should go ahead and replace the fill pump since it was pretty old.
About 3 years ago when we got the boat I decided to make my own HLCD speakers. At the time Wetsounds were way way more expensive than what I could put together. Plus I like building crap. Anyway, they turned out sounding pretty schweet. That is, when all the components aren't rocked to sh!t.
I blew both the high frequency drivers out and replaced them. Nice thing about these is that I can get replacement HF and LF coil kits.
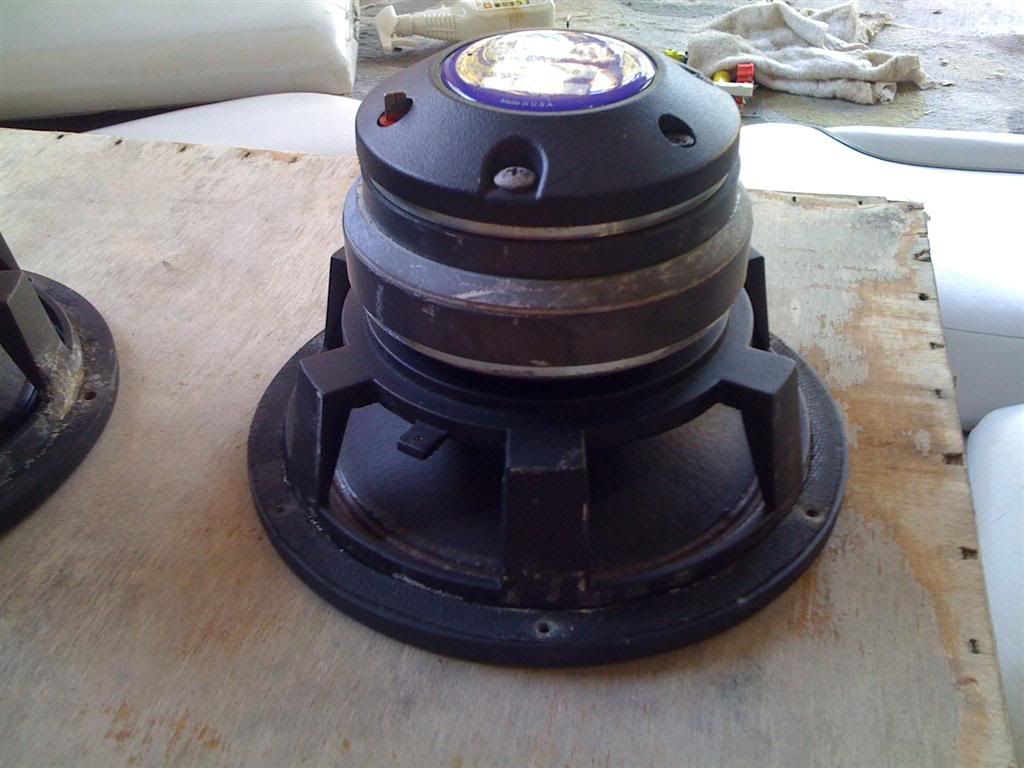
HF voice coil. Doesn't look too bad, but no worky
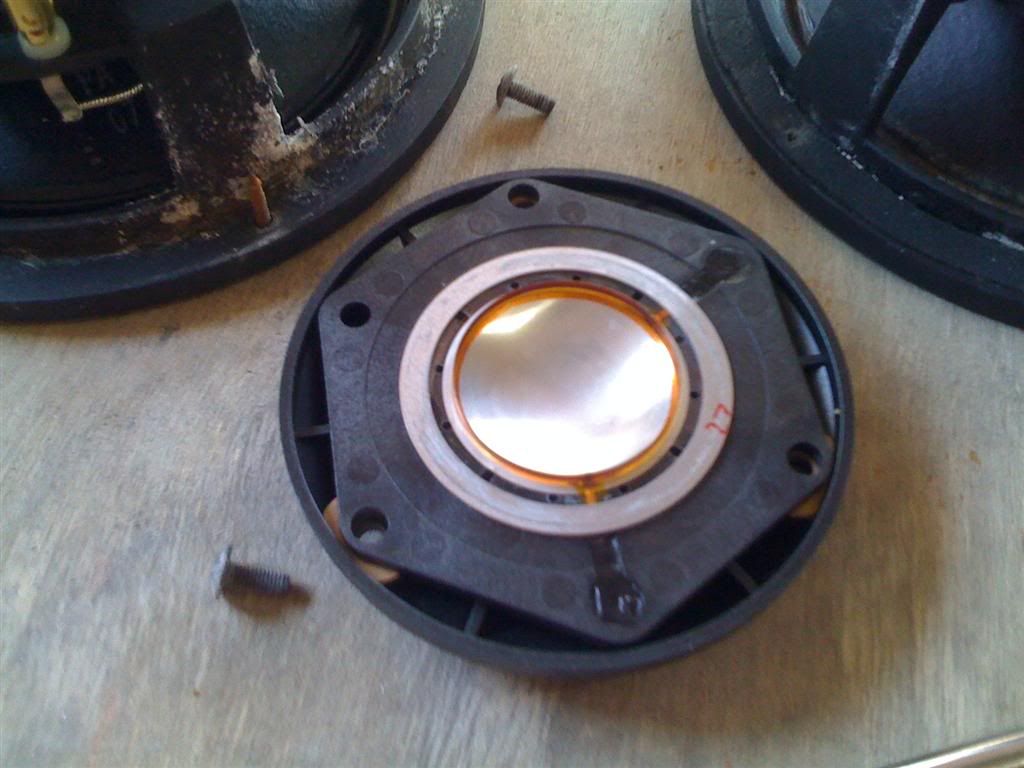
What the magnet is supposed to look like.
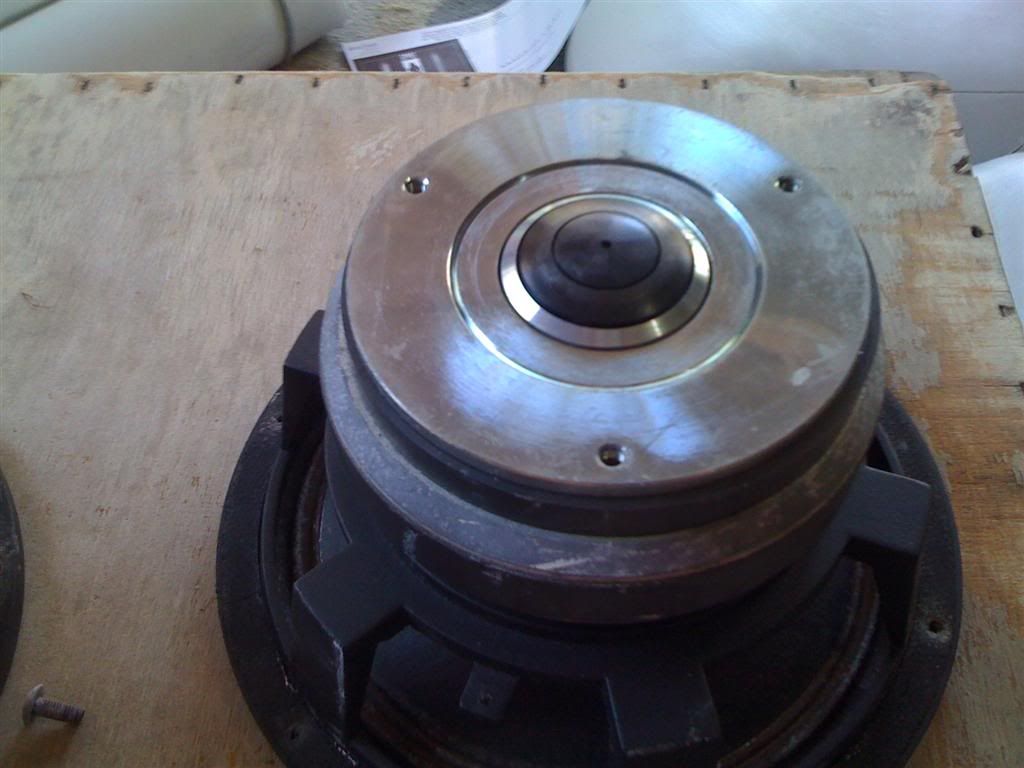
This might be whats wrong with this one. You can see how I have some corrosion on this one versus the other one. I this one is the one that I replaced the LF coil on. I think that I am missing a gasket that goes around the mounting flange on the speaker and water got in there and corroded the crap out of of. I actually will have to replace this one again, since the LF part of this speaker sounds pretty weak compared to the other one.
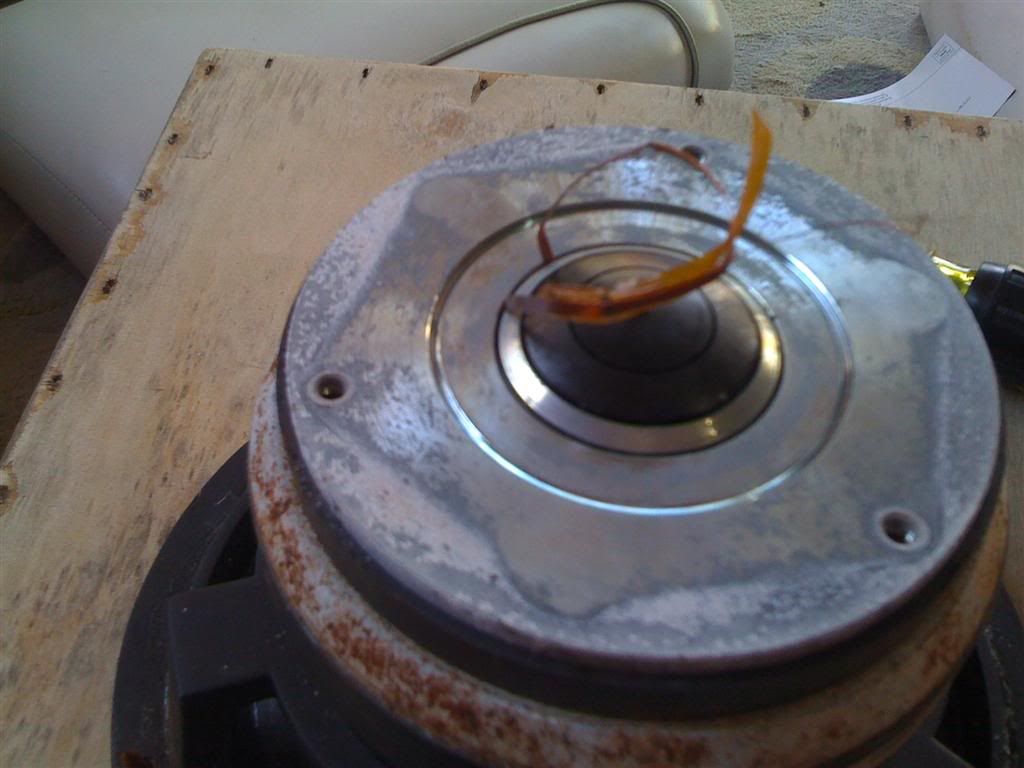
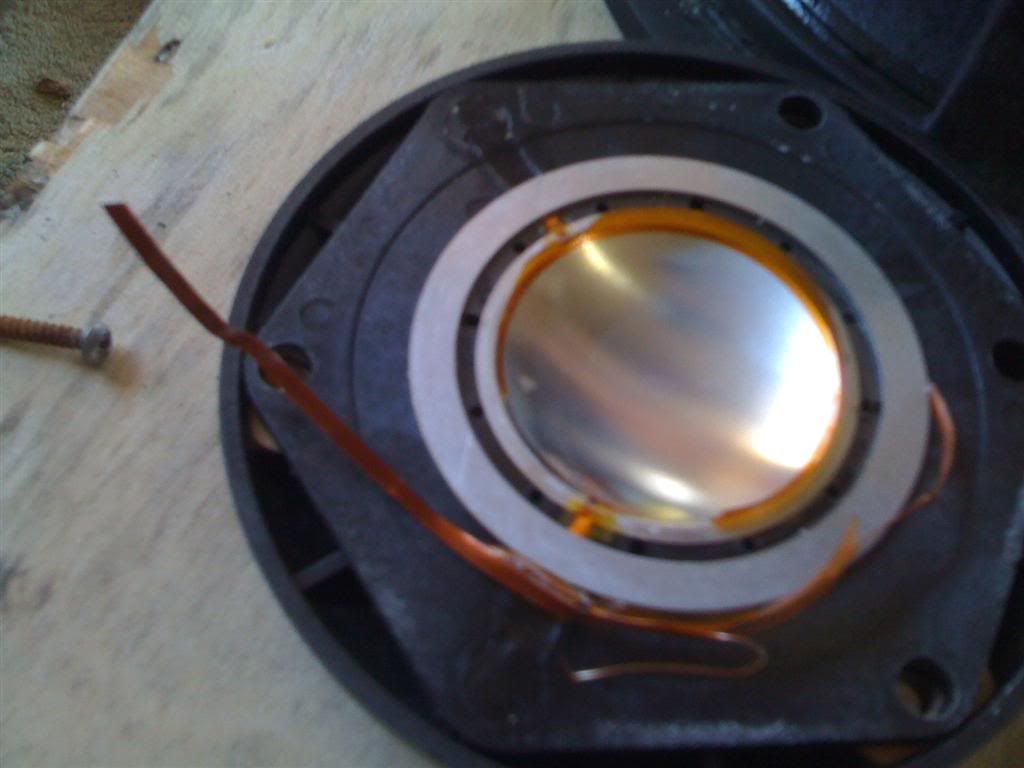
HF coil installed.

Had to pull the crossover out to fix a wire.
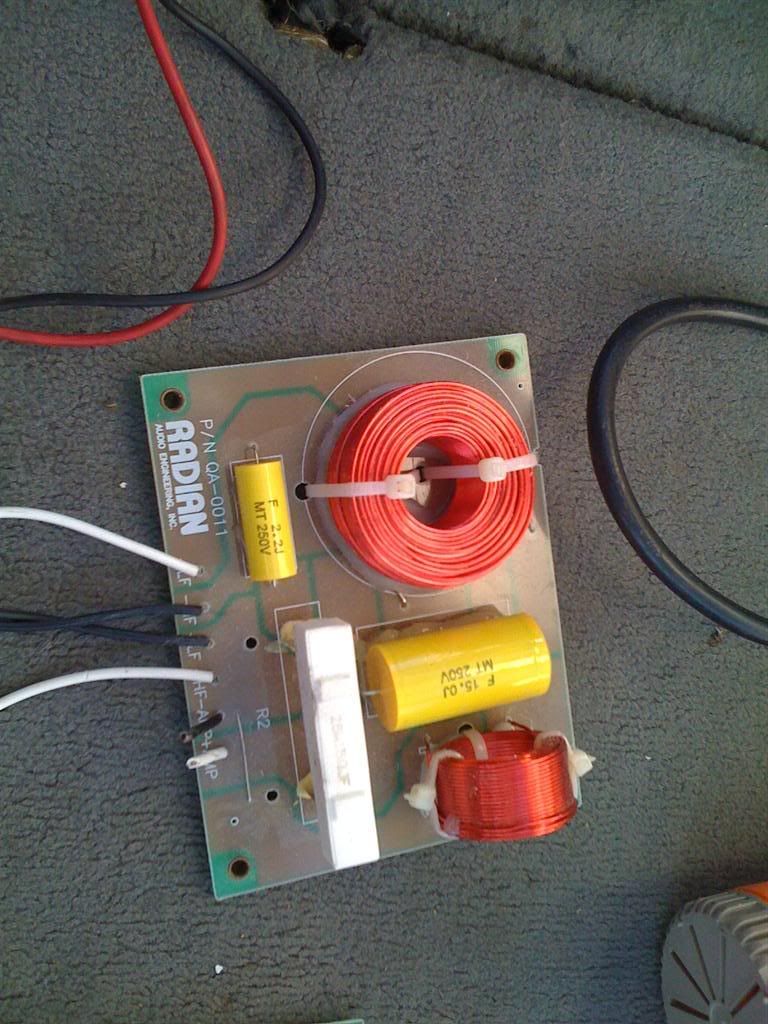
I got excited and cut the wrong wire and had to resolder.
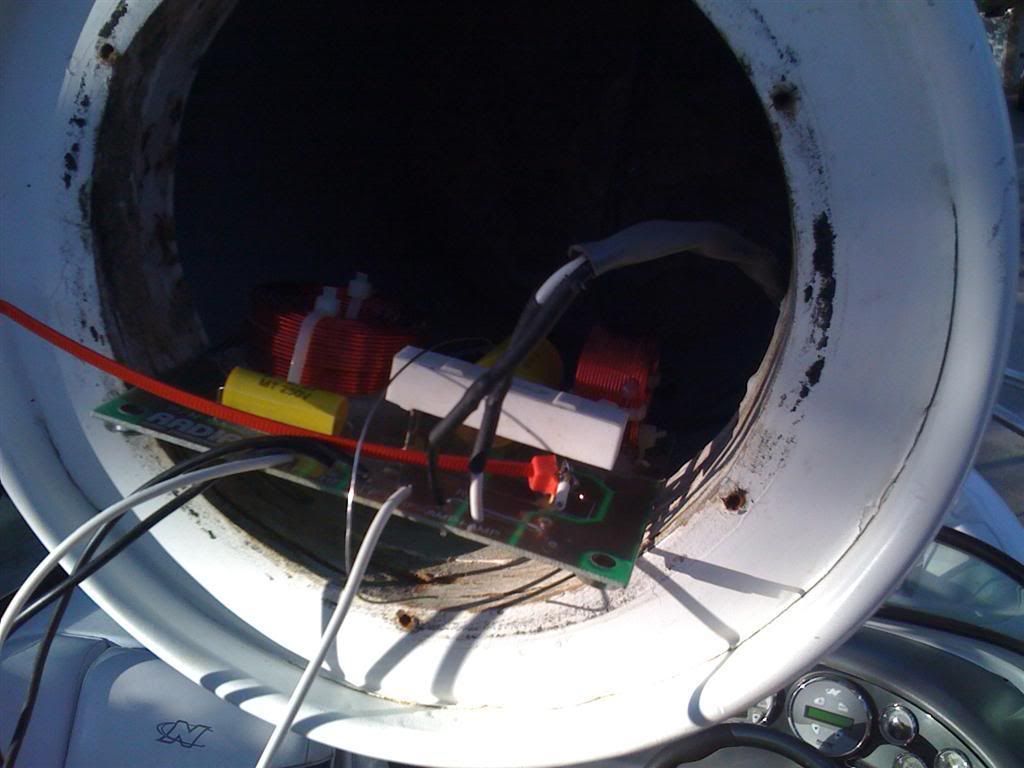
Big pain in the ars to solder upside down. Note to self...don't wear sandels to solder in. Ouch!
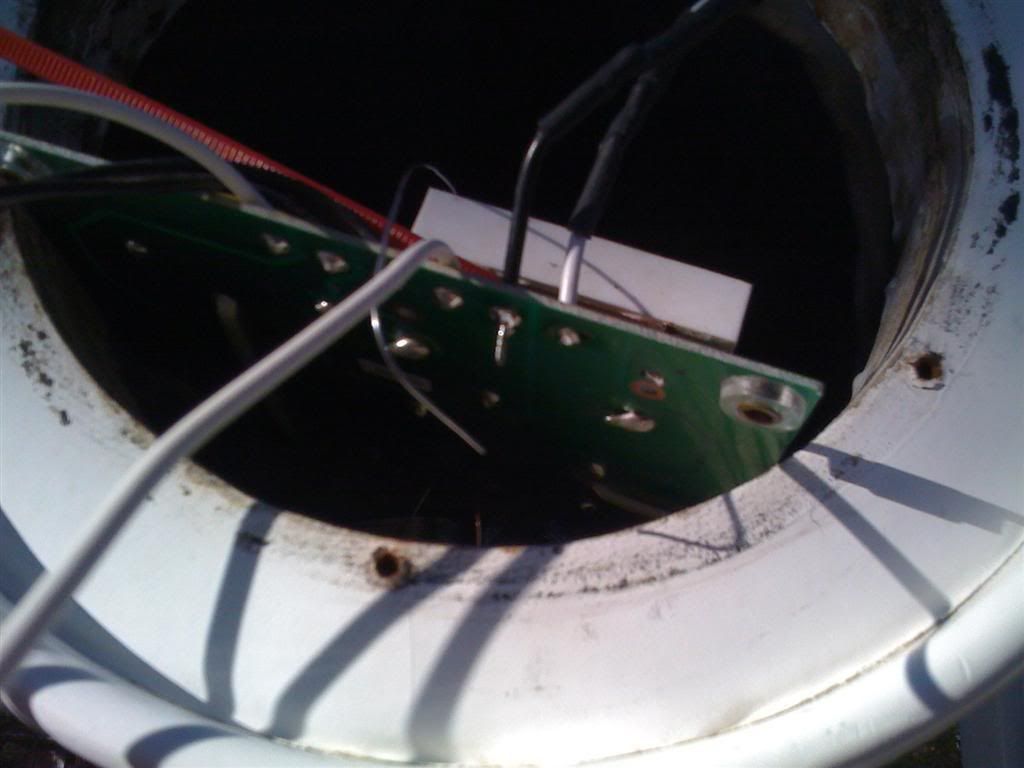
Good time to make sure the speaker bolts are tight.
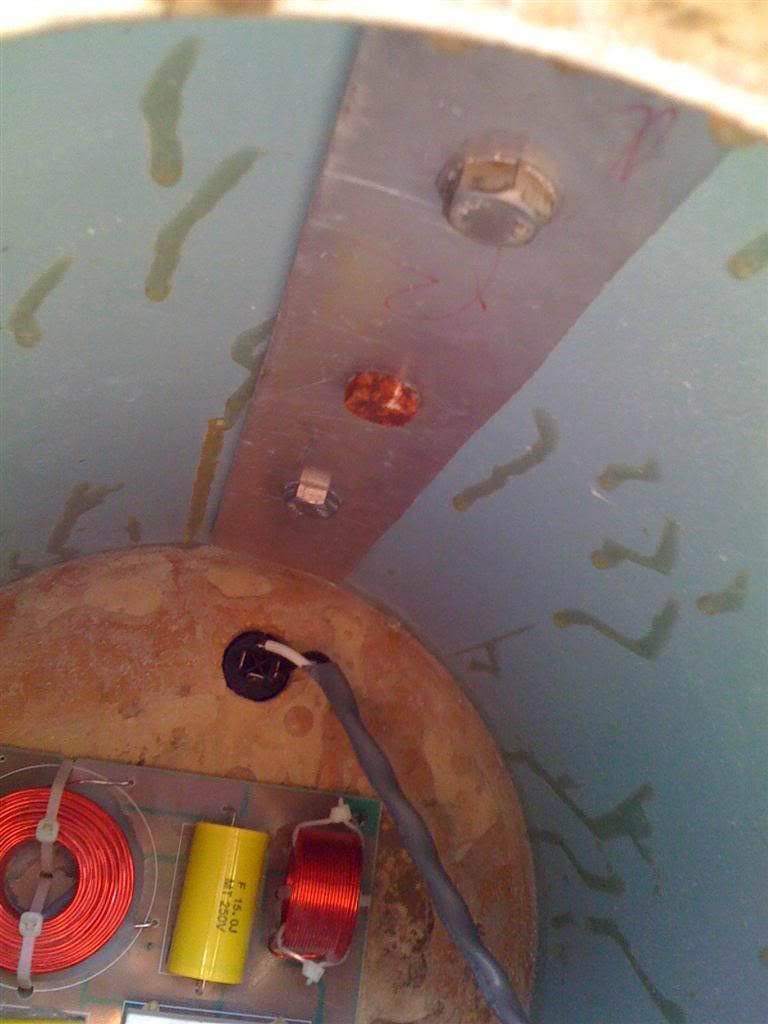
They weren't even lose a little bit. This thing has taken 3 years worth of abuse and double ups.
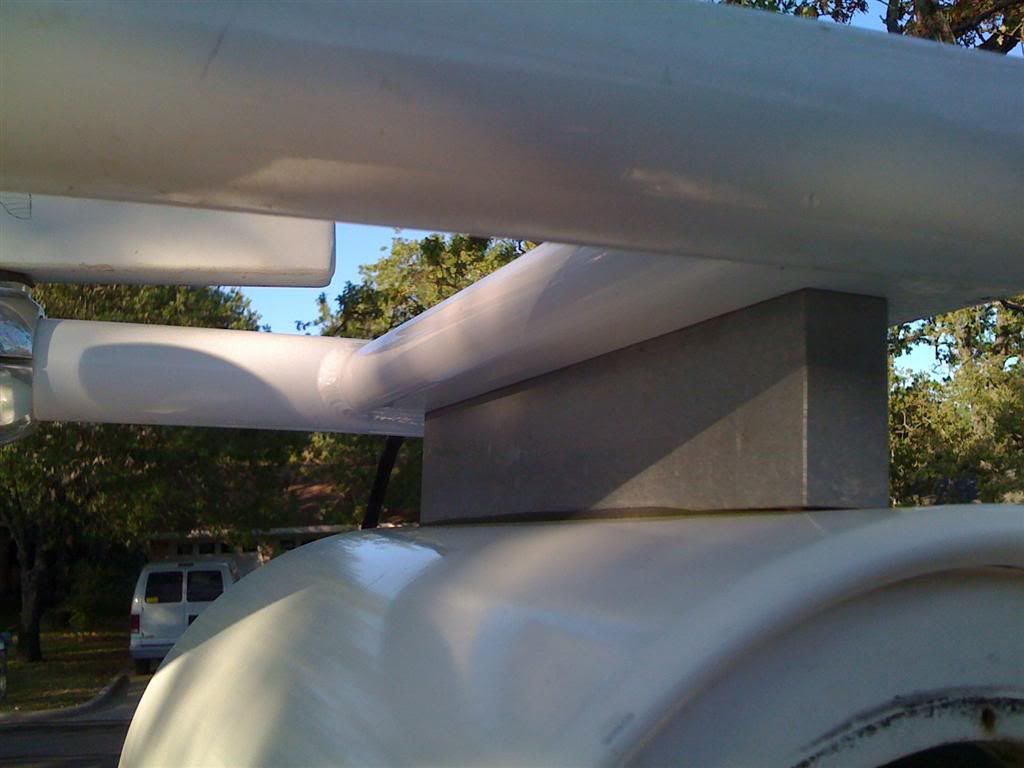
Last thing...I fixed the flight clip. Almost as good as new.

I got three sets of new Wetsounds XS-650's coming in tomorrow. Gonna pull the crap polks out and put some real speakers in.
Oh yeah, yesterday at the end of the day I turned the boat off. When I went to turn it back on I got no lights on the key pad. I'll make a new thread about that one....
Cheers!
Comment
-
3 new sets of Wetsounds XS-650's came in today. Yay!!! Things to do....rip out old speakers, old crossovers, solder cables to speakers, reinstall. Sounds easy right? Not!!
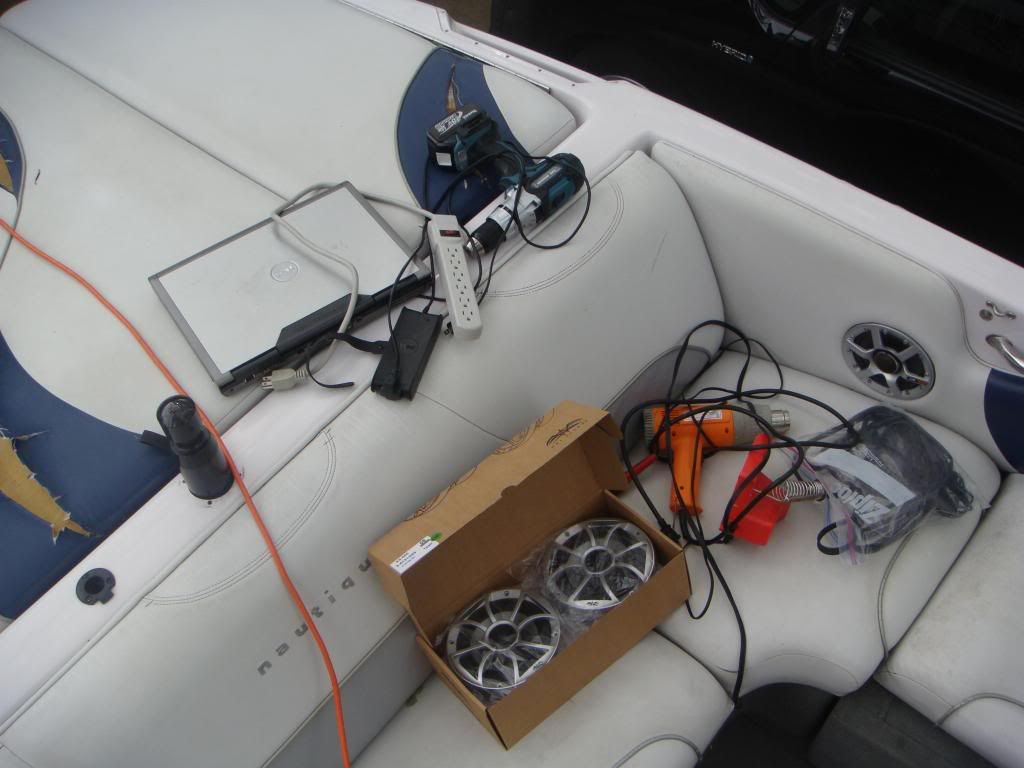
Everything that I "thought" that I should have needed.
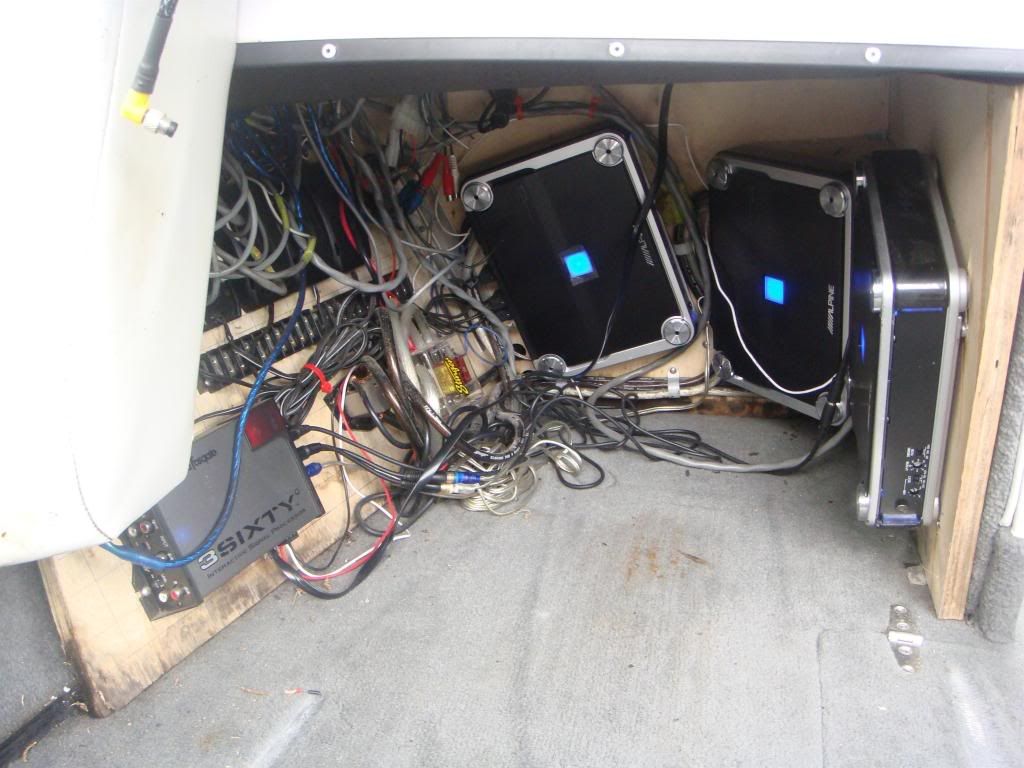
Pick of the observers compartment. I had high intentions for this install a few years ago. What you see here was just a "test" fit to make sure that I liked where everything was. Well, I had a little life crisis and didn't get to finish. Oh well, after living with it for a few years, I have figured out, that while it could look pretty sweet, it wasn't very functional. I cant get to two of the amp setting plates without a micro sized 1" long screwdriver bit. And then I can't see what I am doing. I plan on leaving the one sub amp where it is on the side wall. Then mount the tower and interior amps on a new board on the top of the compartment and have the controls facing outward. I'll try to salvage the wood pieces so I don't have to remake them.
For those of you that don't resin wood in a boat, this is what it looks like after a few years of use. Not sure how I can fix this. I think I can cut away the bad area a prop it off the floor after some rhino lining or something.
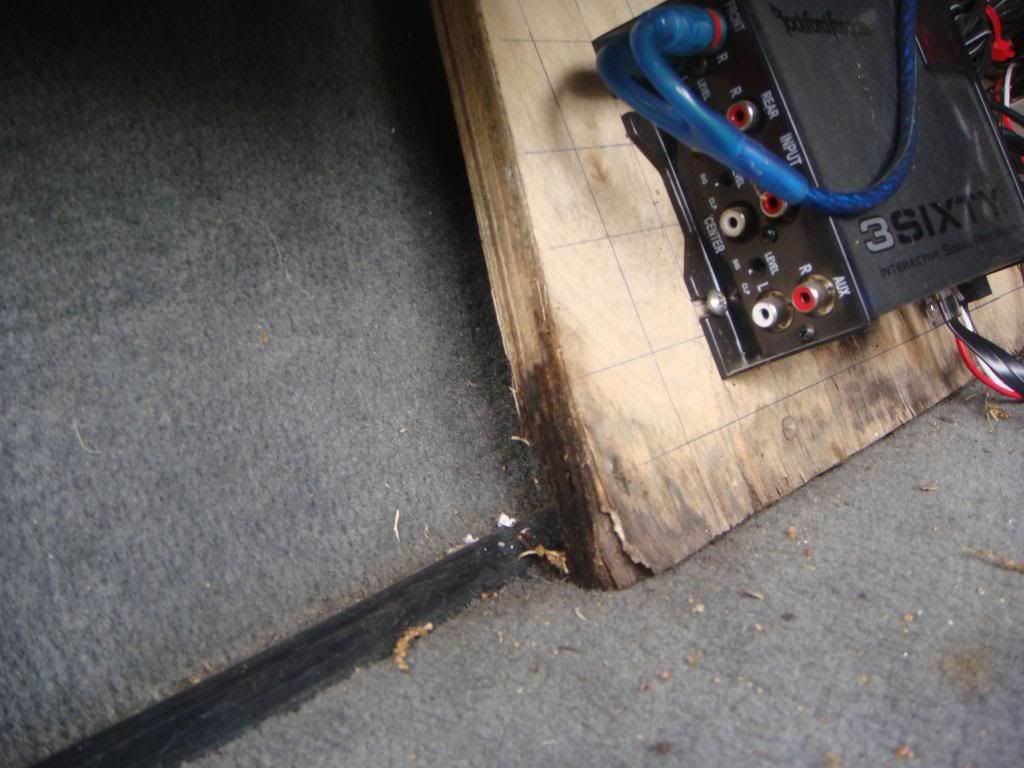
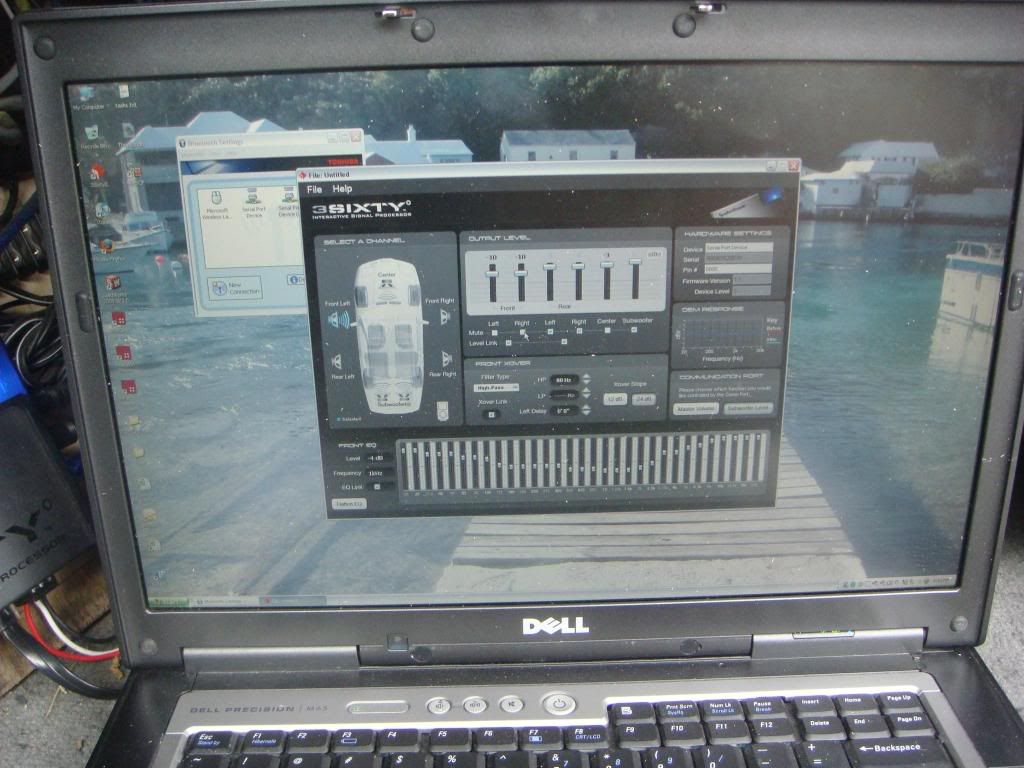
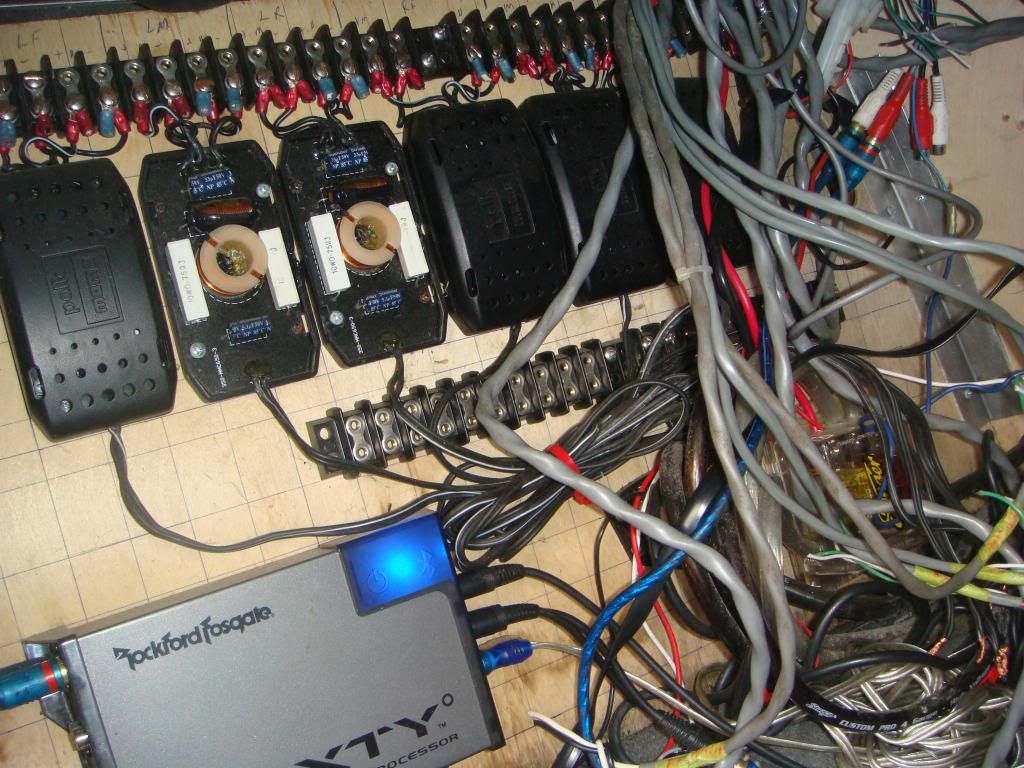
Me liking to tweak stuff and love anything tech wise, I opted to go with a RF 3sixty.2 sound processor. It's got all the adjustments you could ever want in the EQ and level adjustments. Sounds pretty cool in concept. However, it's kind of a pain to adjust levels because I have to have my laptop to do it. The only volume adjustment I can get is through a remote knob for the sub. I've adjusted and live with it now. Its pretty cool software though. I used it to turn off all the speakers except the ones that I was working on.
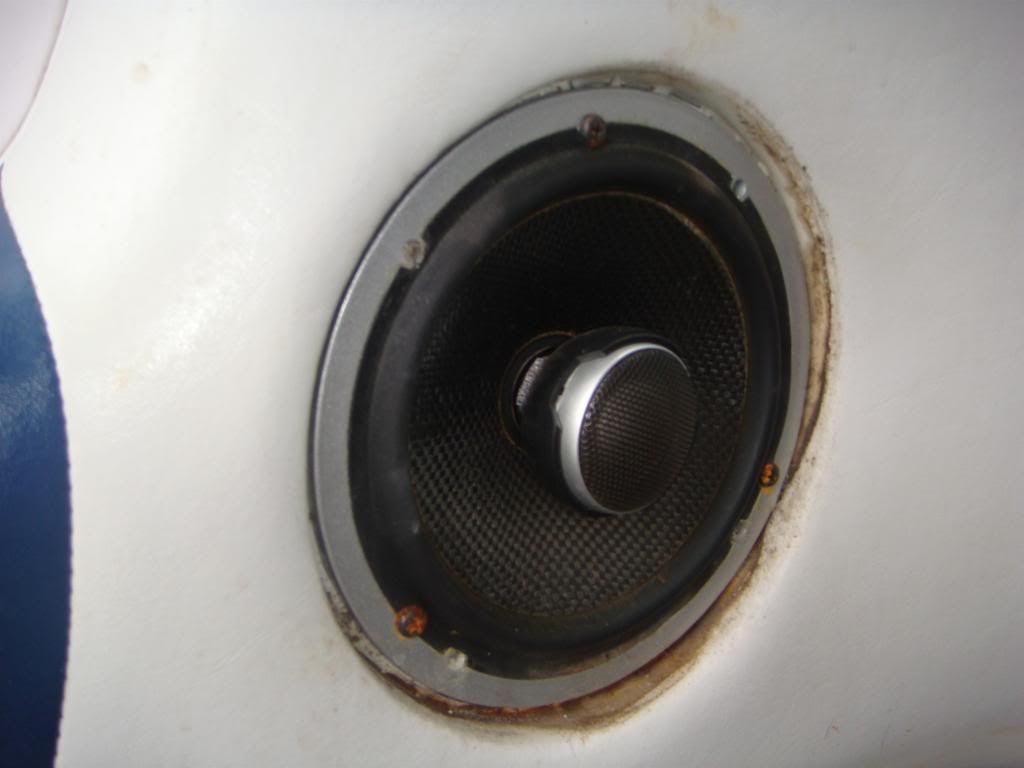
old polk momo's
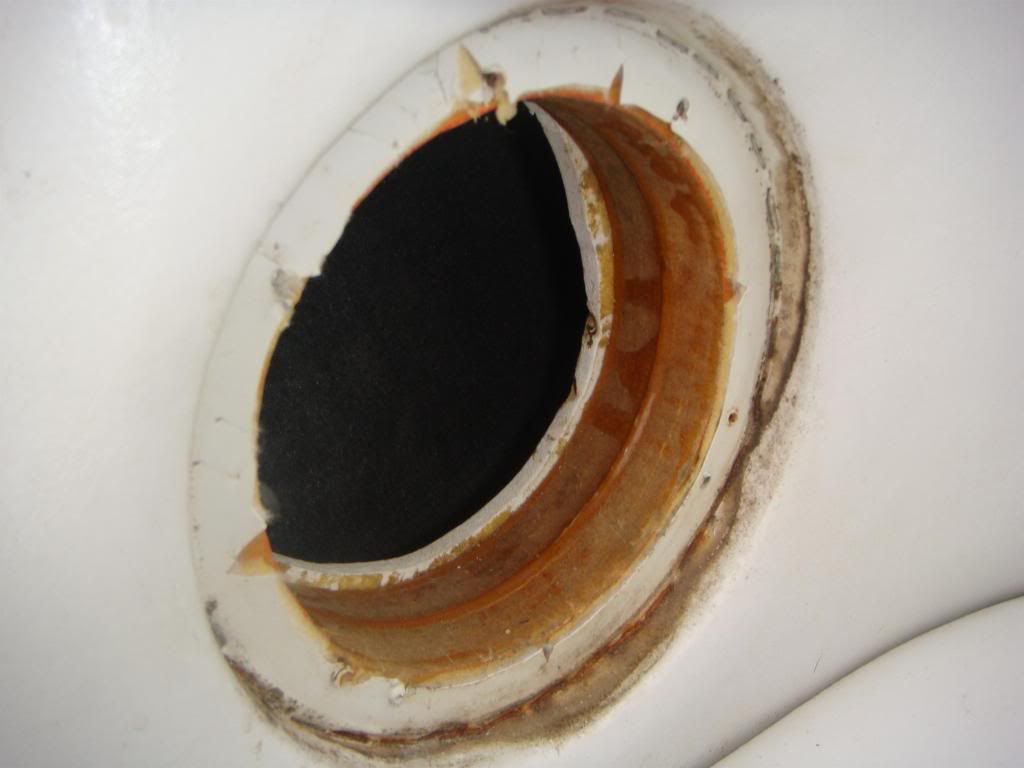
pic of the baffle
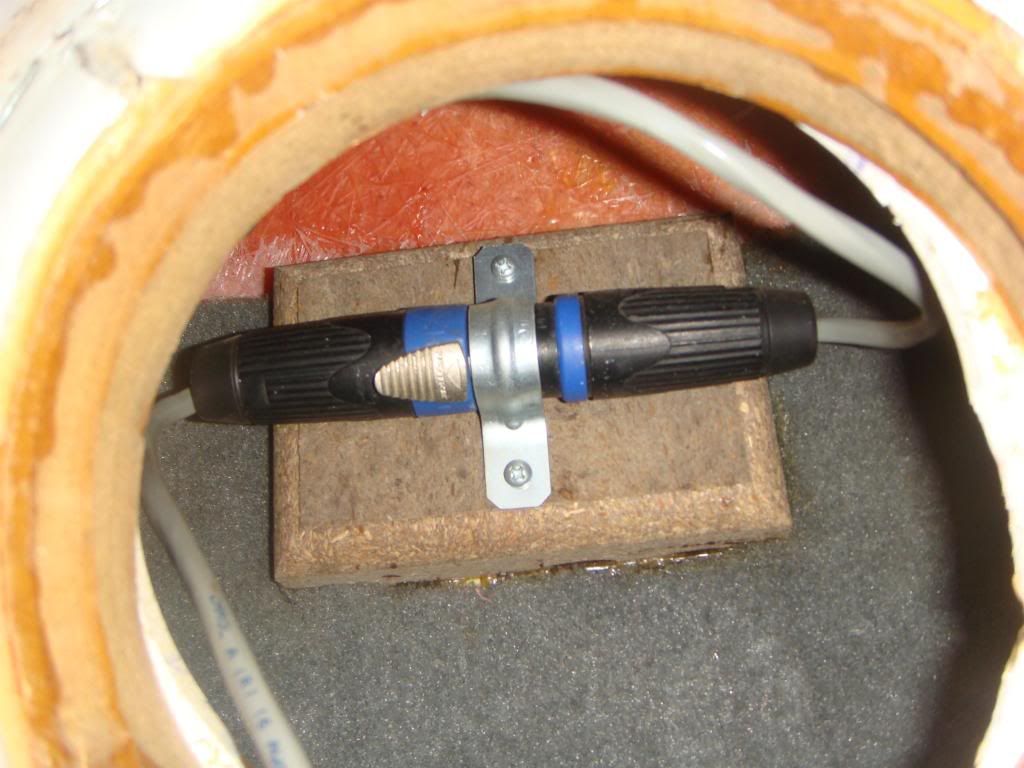
speakon waterproof connections. Way overkill, but pretty convenient
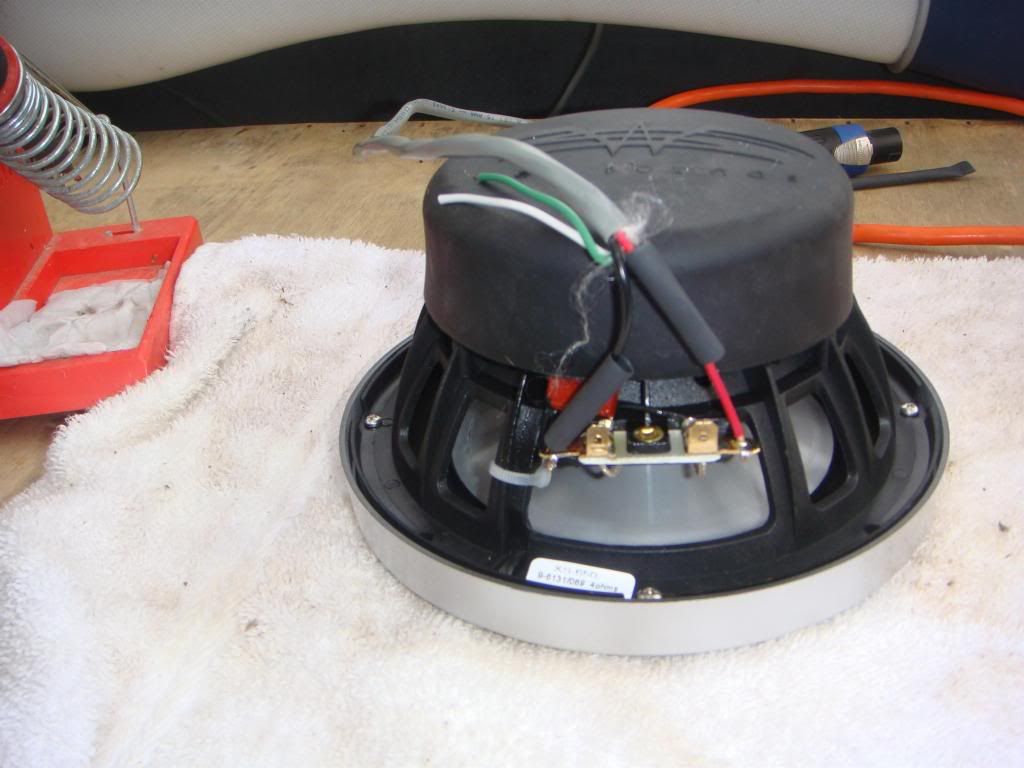
old assembly
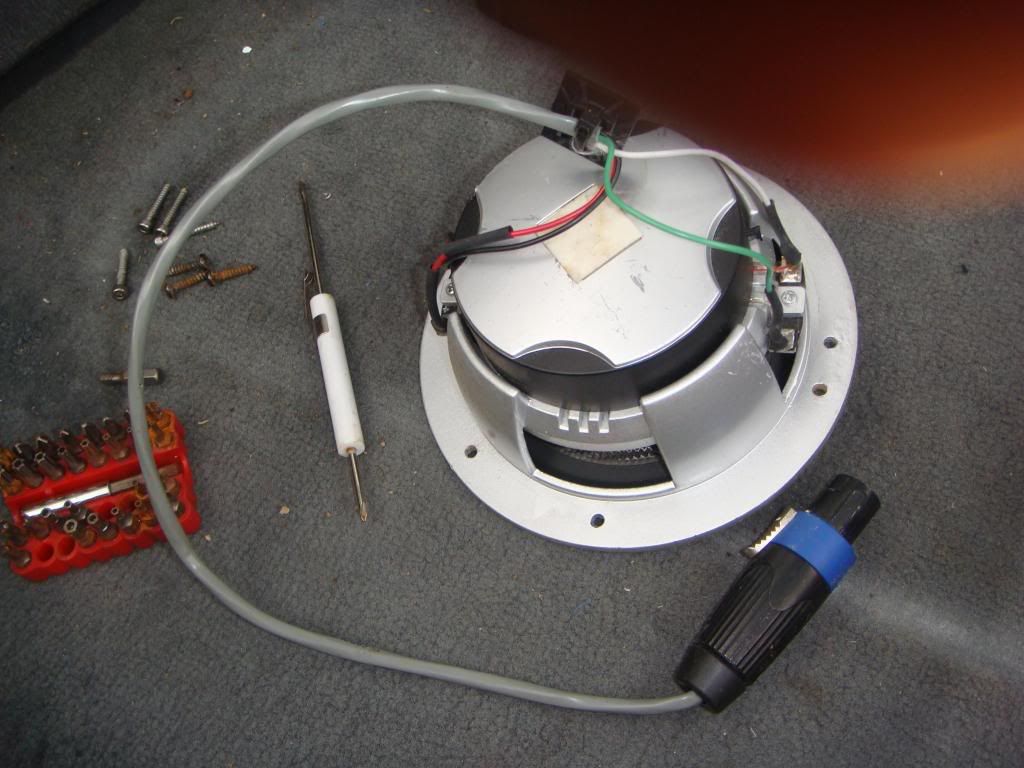
New WS-650. Gonna have to redo this and use the other lugs. you'll see why later. You can see a second set of wires on the cable going to the speaker. Every speaker has this extra set since I had the crossovers installed in a central location. Since they are built in on the WS's, I have an extra set. Was thinking that it is a perfect wire to get some speaker led's going. Hmmmm.....
Before I hook the new speaker up, I have to remove the old crossovers and wire the cables directly into the amps. Good thing I labeled everything.
STOP!!! Hold the phone. I had all the amp temp rewiring done, the first speaker completed, hooked up to the connector, got my screws and screwdriver, went to put it into the hole and........IT DOESN"T FIT
ARGGGGGGG
I didn't even think about them not being the close to the same size. The WS is way more massive.
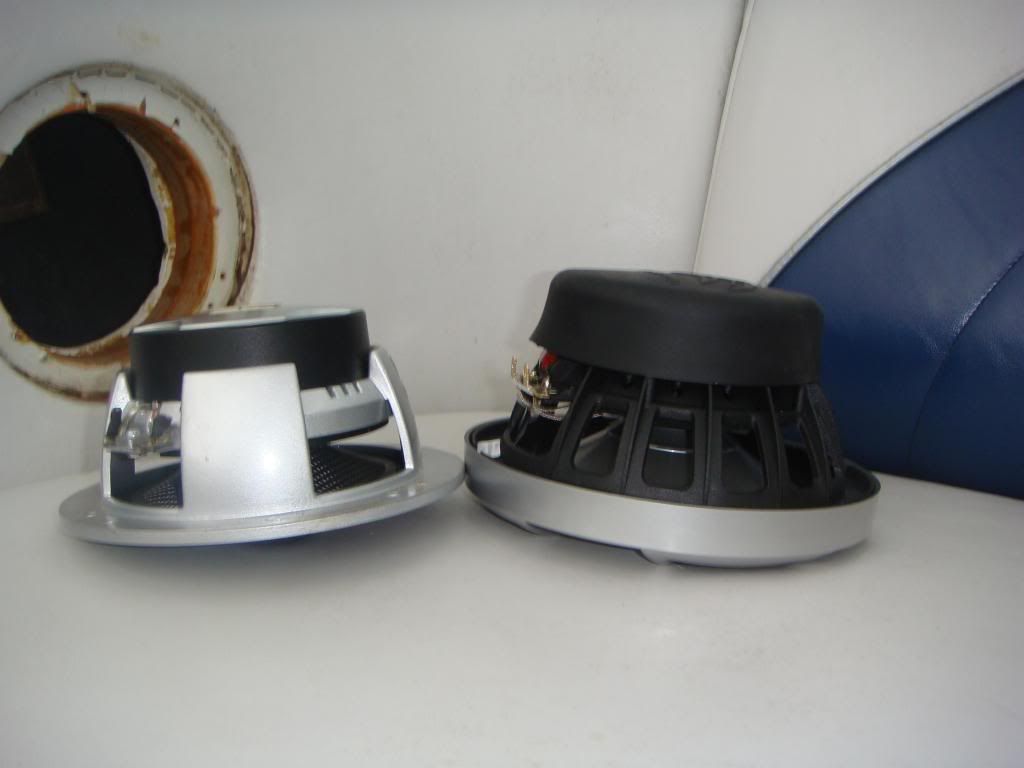
I am not about to remake those baffles. I would have to pull all the interior pieces out, cut about 20 more rings of wood, and get super frustrated because it's starting to get hot here. I could make new baffle inserts but then they would stick out. I like the flush look.
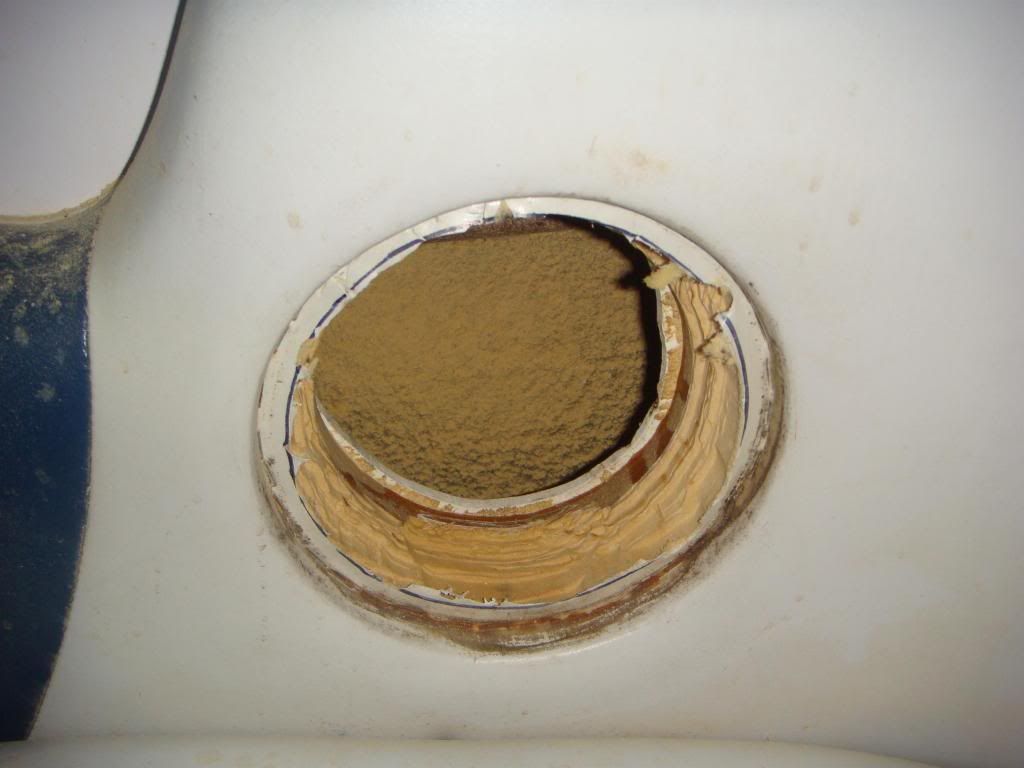
After chilling out for about an hour after realizing that my 2 hr job turned into a 6 hr one, I deciding to do the only thing possible....Try to enlarge the holes.
Here's my beautiful baffle before...

The aftermath....
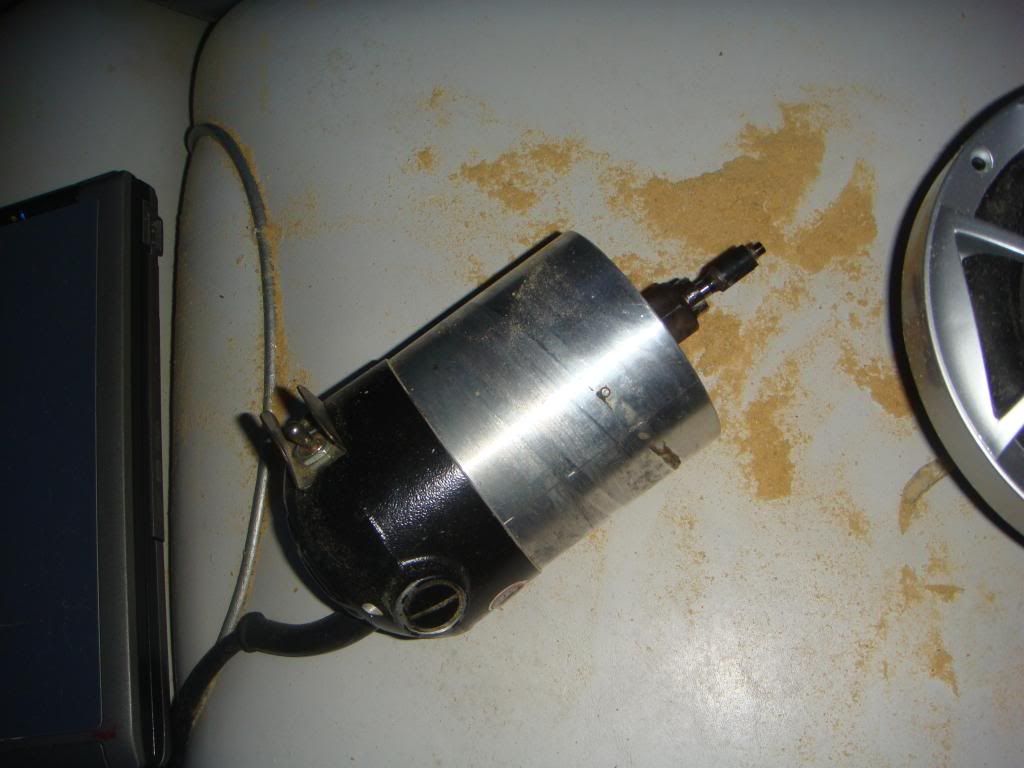
Tools of the trade...
Yes, it looks like crap! But that was only a test to see if I could make the hole big enough to fit the driver into. The router bit that I had wasn't the right type. Once I could clear the sides of the driver, the cover portion does not fit all the way. I can turn it around and get it about half way in. Since there is wood all the way around it under the vinyl I can't eat away at the wood.
I'm gonna have to trim off about .25" off the back edge of the cover on ALL 6 of the speakers.
Gonna hit up my second favorite store, HF, for a router bit and a dremel.
Stay tuned!
Comment
-
If you have to pull stuff out of the amp section, (or if you decide to replace the boards) you may want to epoxy those boards. They look to be delaminating. Alternatively, HDPE cutting boards work really well. You can get custom size HDPE cutting boards online.Now
2000 SAN
Previously
1999 Air Nautique
1996 Tige Pre-2000
1989 Lowe 24' Pontoon / Johnson 100HP outboard
Comment
-
Yeah, that was the plan. Just a crap ton of stuff went down during that time period and they got forgotten. After thinking about it, I will probably ditch that whole side and mount the power wiring and speaker terminal blocks on the back wall. I'll be sure to epoxy them before they go back in.
Comment
-
Finished the speaker swap this weekend. It ended up being the case that my only really tight hole for the speaker cover was the very first one that I tried. Good thing I didn't go a cut off a piece from all of them.
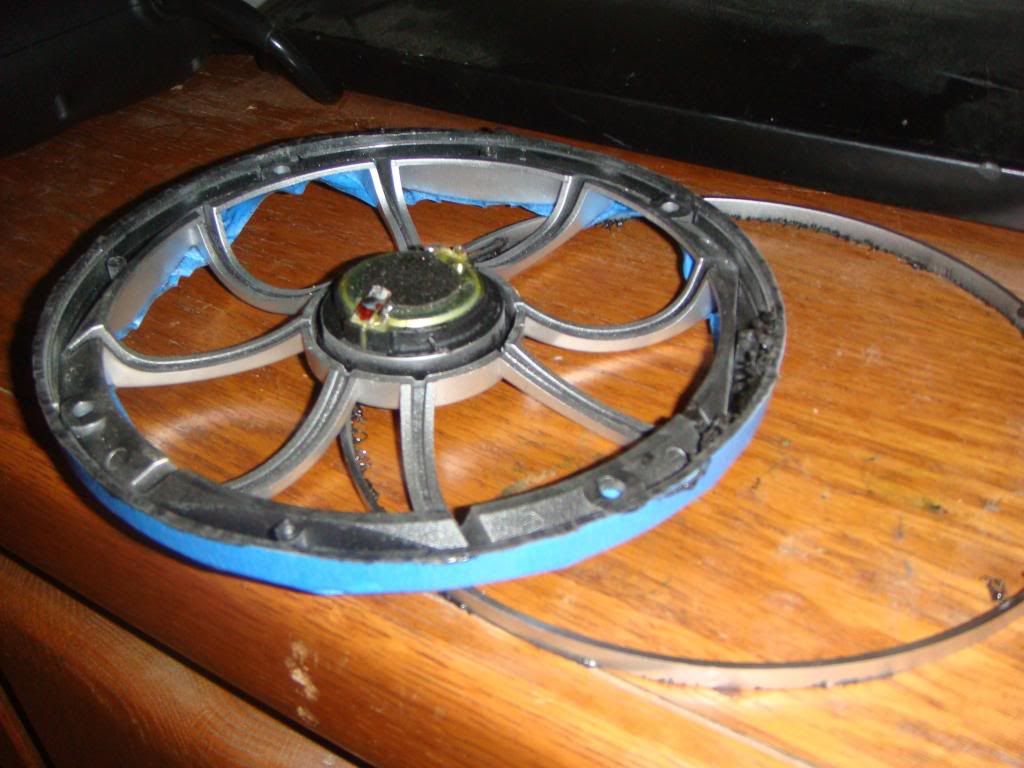
Here's the underside of the speaker cover. I decided to unsolder the wires to make it easier to work on.

I used tape to mark the line. It also protected the plastic getting scratched pending some unexpected carnage.
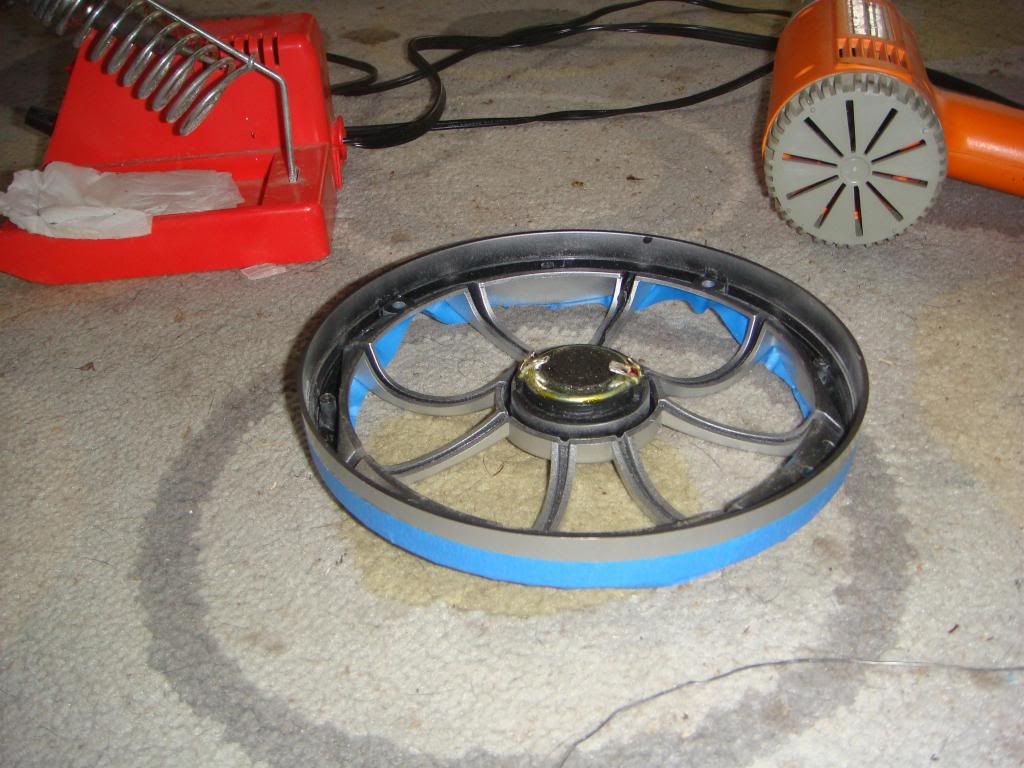
This doesn't look too safe!

Actually worked quite well. Kinda scary though.

Done.
Looks almost factory.

Pic of one of the baffles after the first coat of resin. After routing out the material, I was left with exposed wood.

First one done.

The rest of them. Actually turned out better than I had hoped after the other day.


This is everything that I ended up having strung out to finish.

Interior next. Boo!!
Cheers!
Comment
-
Part of being able to order the speakers was a promise to the other guys that own the boat with me to get the interior cleaned up.
I know what your thinking..."How could anyone ever let a boat get like this?". Believe me, I feel the same way. All the tears in the boat started before we ever got it. Over the course of 3 or so years and LOTS of use, they have gotten larger. The worst thing is the rear deck, as I'm sure that you've seen many pictures of. Combine small tears, tanning oil/lotion, water, sun, beer, ladies, etc. etc., they evolve into huge rips. New rear skins will be on order from CC in a few weeks to fix those. In the meantime, I'm getting some covers made from towel material. The main cushions and seats just need some TLC. Every year I have to go through with magic eraser and clean them up. At the end of the season though they are pretty well worn.
This year is no different, other than the fact that the mildew and stains are 10x worse. The cover that we have is not very waterproof. Every time it rains, the interior gets wet. Over the winter it got pretty bad.
I was able to experiment and came up with the best combination to attack the seemingly permanent mildew stains.....
Bleach, greased lightning, gojo, scrubbing brush, magic eraser, and the sun.
Spray all ingredients on the cushion. Take the scrubbing brush and mix it up and cover the cushion with the mix. Let it bake in the sun for about 10-15 minutes. Repeat with application of mix. Scrub HARD with brush. Let soak in sun. Reapply greased lightning and bleach. Use Magic Eraser to remove rest of stains.
At this point, most of the stains were completely gone. There were still some small faint remnants left. You can then spray a little more bleach and make sure it is covering everything. Then let sit in the sun for about half an hour.
After that, they looked pretty much like new. Apply a few coats of 303 and your done. Now, only 3 more cushions to go and the panels. Sure wish I had some help!
The one on the right hasn't been cleaned yet. (Well it has with 3m vinyl cleaner, just not with the new mix). It's kinda hard to see the mildew in this pic. Scroll up and you can better see the grossness.

First 3 pieces finished. I think you can see in some of the above pictures what they looked like before.

Comment
-
Well, one thing is for sure, you are doing a good job of killing the vinyl. All those chemicals you are using are definate no-no's. Keep the 303 on them for sure as that is the only thing that any chance of keeping them from turning hard as a rock at this point. A full interior is in your near future.
I do wish I had half your skills with the tunes though.
Comment
-
Yeah, I hear you on the chemicals. I did some reading and everywhere I saw said that bleach wont harm vinyl. At this point, I had to do whatever I could. The 3M stuff just wasn't cutting it. I know that the magic erasers basically just eat away at the vinyl.
I'm liberally applying the 303. Gonna hit it everyday for a few days to make sure I get good penetration.
Comment


Comment